Setting up Paid Courses in Communities
Creating a community can bring you tangible value since it promotes engagement, interaction, and collaboration. The Learning aspect of the communities will add to the intangible value members derive from the experience of being part of your communities. However, there will always be Courses that require more resources than you are willing to give out for free.
In those cases the best solution is to set up a Paid Course, this will allow you to leverage all the previous interest members have in your products and turn it over to revenue for your business. With this tutorial, we'll help you set up a Paid Course in no time.
Accessing Your Courses:
Navigate to the memberships tab on the left navigation menu.
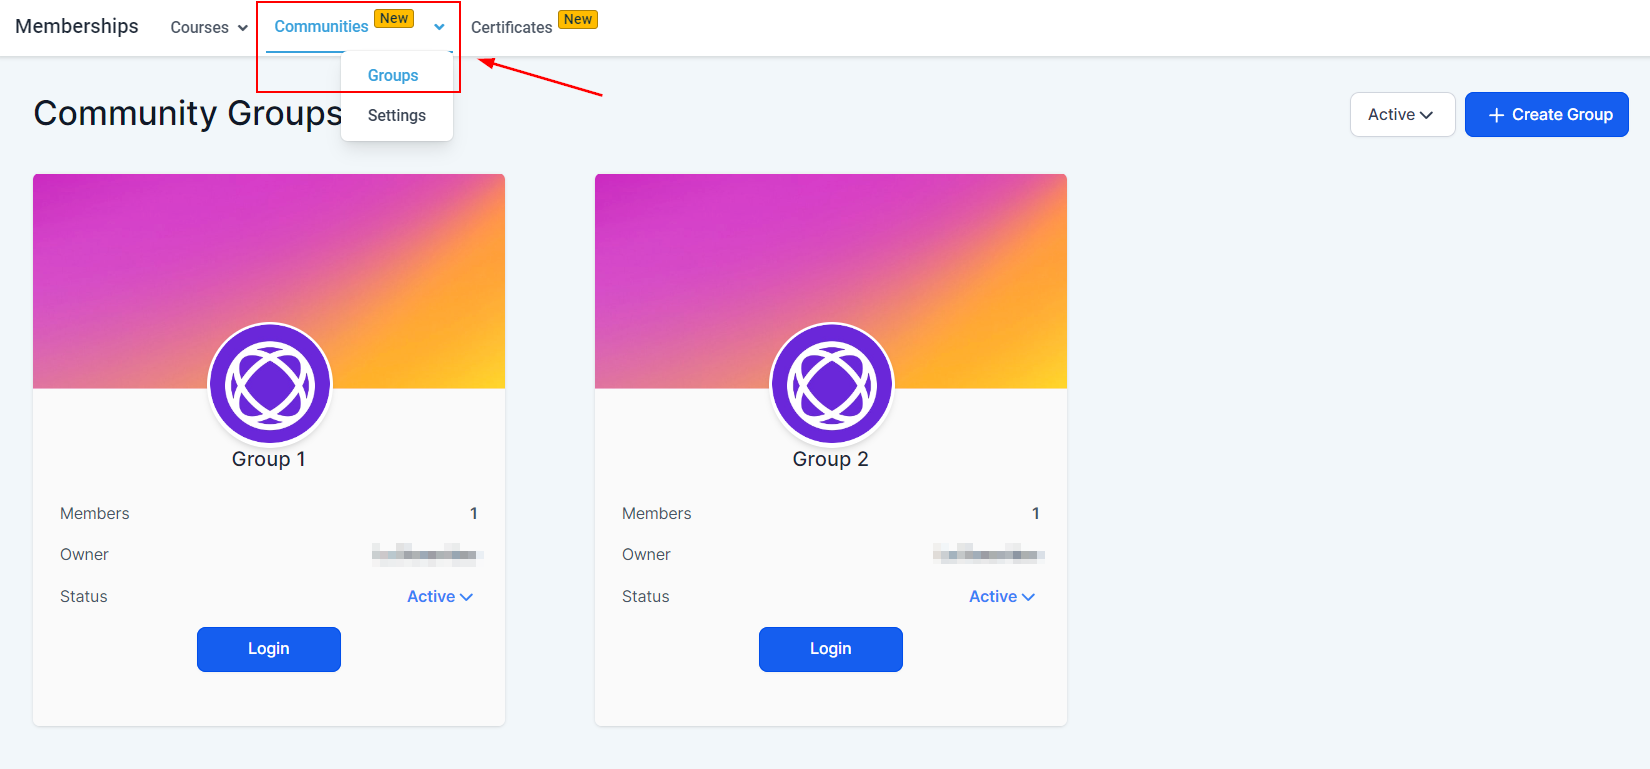
Select the groups from the Communities upper navigation menu and log in to your created group.
Adding or Selecting a Course:
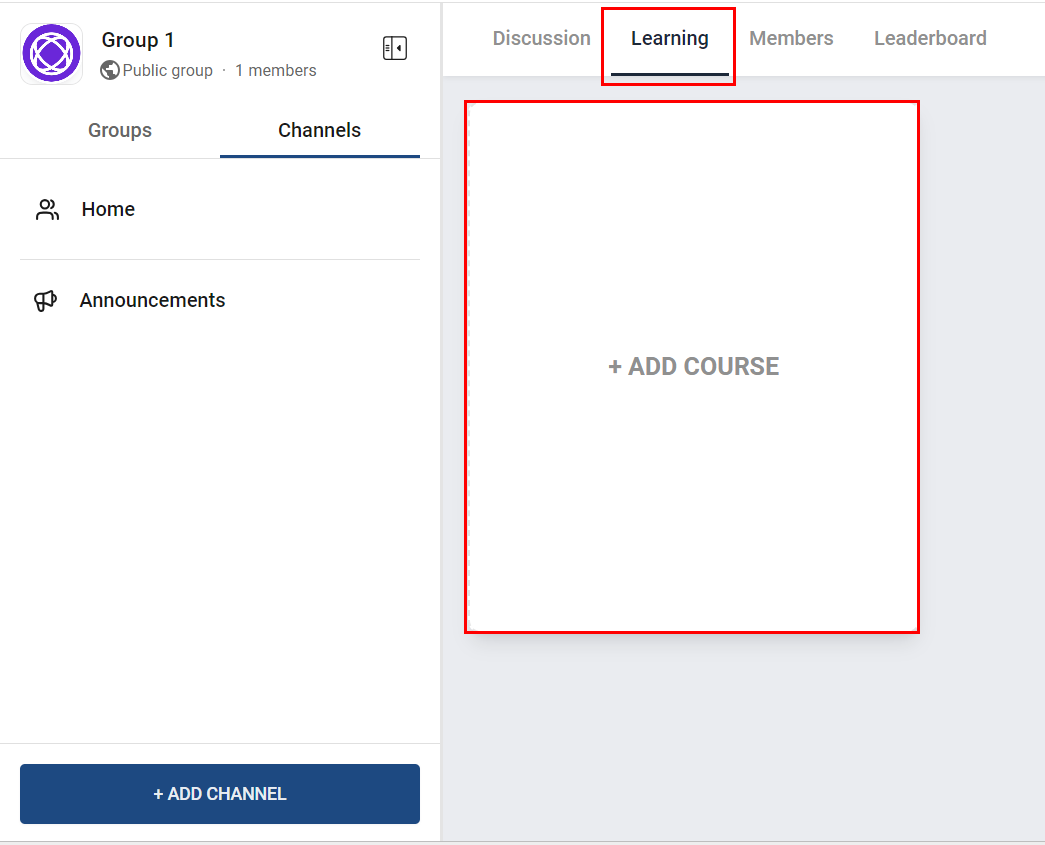
From the Learning tab, click on "+Add course" or select an existing course to modify.
Subscription Types:
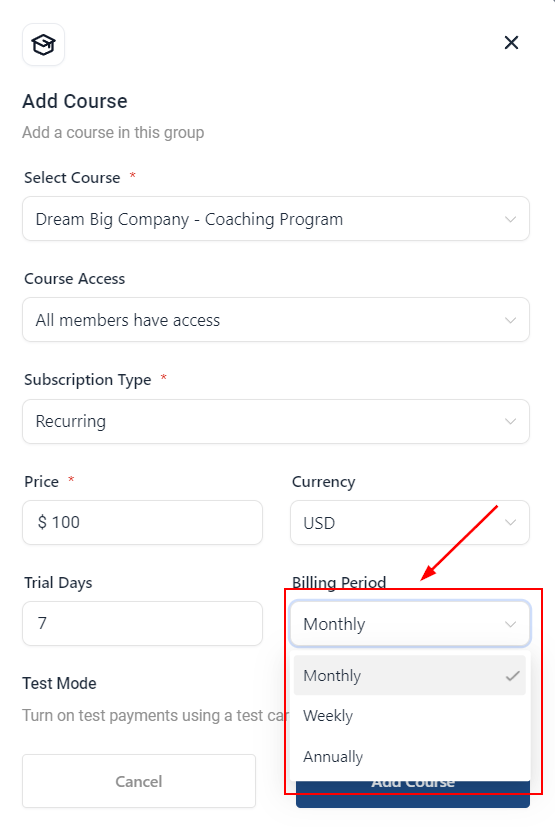
Choose between "Recurring" & "One Time" subscription types based on your course offering.

Billing Period:
Select how often you will charge for the course, you can opt between Monthly, Weekly, or Annually.
Selecting Currency:
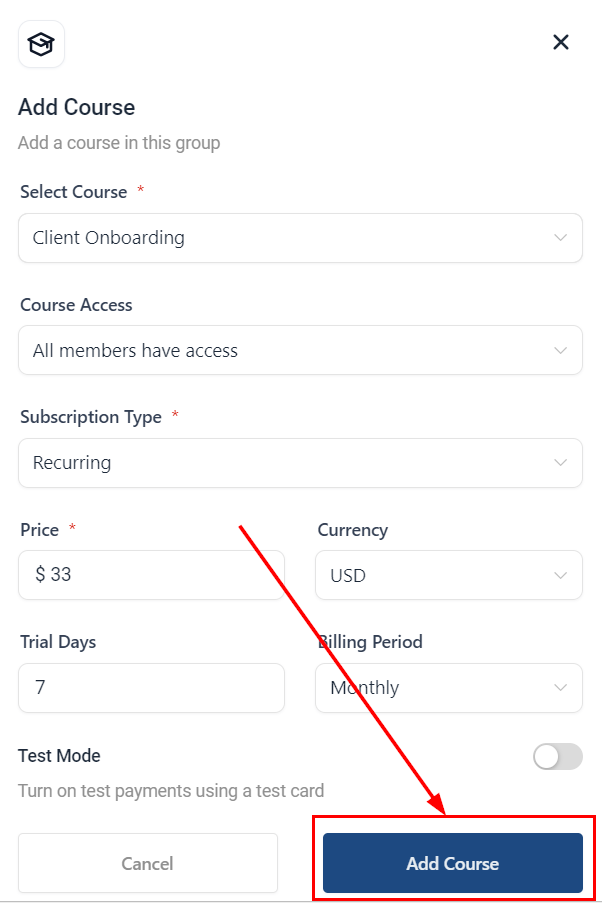
Input the price and choose the appropriate currency for your course based on your target audience's location.

Finalizing Your Course:
Once all details are set, click on "Add Course" to finalize.
Why should I set up a Paid course?
As engagement grows in your communities, the members get faster to respond, more accessible, and generate more value. This is one of the ways you can tap into that value and turn it into sales.
With online courses, you have the advantage of creating it once, and selling it over and over, generating passive income. You can also leverage this into additional value for your products, by teaching customers how to use the products beyond the basics or offering education to them.
Managing Your Courses
Reordering Courses:
To change the order of your courses, click on the three dots next to the course and select "Move Card" to place it in the desired location.
Tracking Progress:
Keep an eye on the progress of your courses to gauge engagement and completion rates.
Troubleshooting and FAQs
Q: What if my course isn't showing up in the desired order? A: Ensure you've correctly used the "Move Card" feature to reorder your courses. If issues persist, check for any unsaved changes.
Q: How do I change the subscription type after adding a course? A: Edit your course settings by selecting the course and adjusting the subscription type as needed.
Last updated